In this post, I’ll share a method for bypassing the installer lockout on the DSC PC5010 security panel. This technique can be particularly useful if you find yourself locked out of the system and unable to access the installer programming mode. This is an old semi-well known method that I used when I was still in the security industry. It’s important to note that this information is provided for educational purposes only. Always ensure you have proper authorization before attempting any modifications to security systems.
Why Bypass Installer Lockout?
One common scenario where this method is useful is when switching security providers. Previous security companies may not release the installer code, leaving the new provider or homeowner unable to use the panel. The installer lockout prevents the panel from being defaulted without the installer code, and this is often indicated by the panel “ticking” several times upon power-up. Bypassing the lockout can regain control of the system without needing the original installer code.
Power Down the System
To begin, you need to power down the system completely. This involves disconnecting both the AC power and the battery to ensure there is no power running through the panel. This step is crucial to avoid any electrical shock or damage to the system during the process.
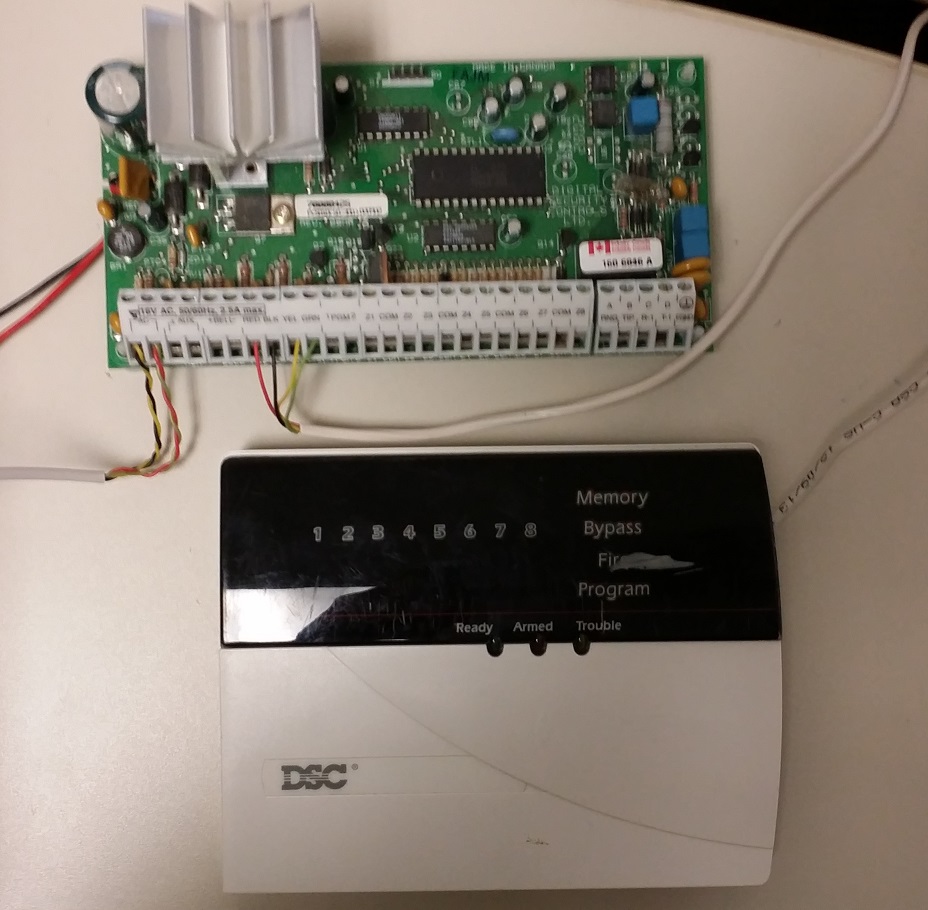
Access the Control Panel
Once the system is powered down, open the control panel box to access the main circuit board. On this board, you’ll find the microcontroller IC, which in the case of the DSC PC5010 is the DSC R3332. Unfortunately, there is no available documentation on this proprietary chip, but we do know that pin 25 is the key to bypassing the lockout. This method works by temporarily blocking the panel’s ability to read the data from the IC.
Ground Pin 25
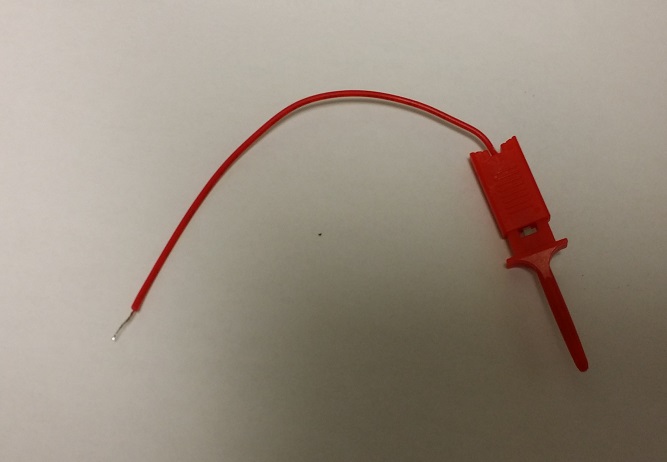
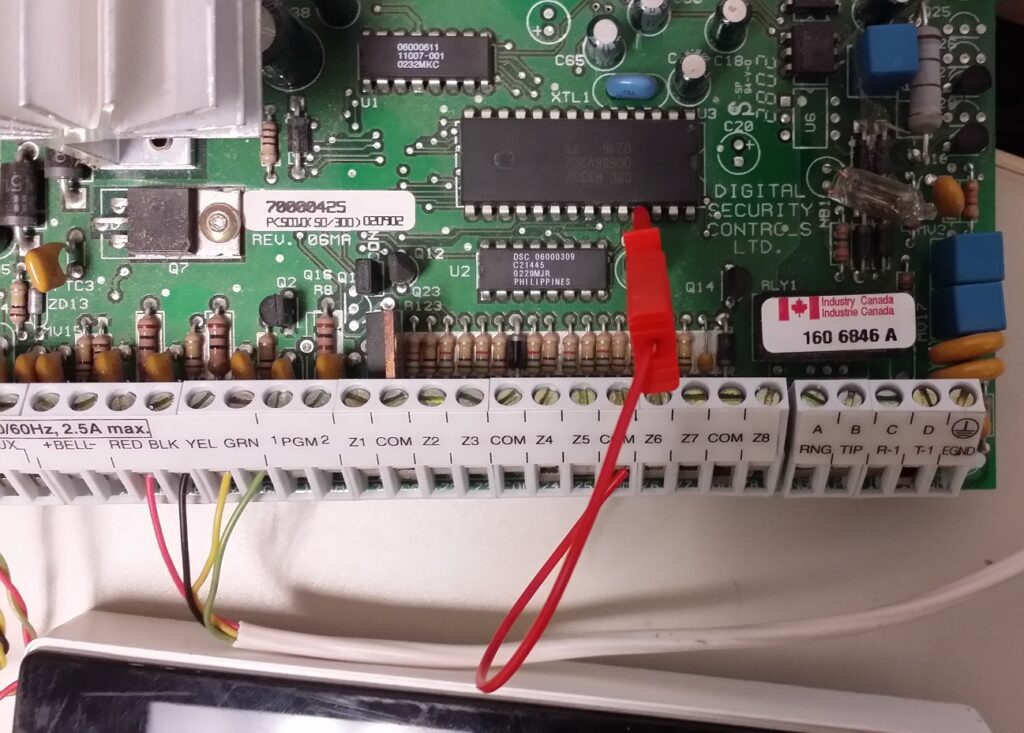
With the control panel box open and the circuit board exposed, locate pin 25 on the DSC R3332 IC. You will need a small piece of wire with an IC clip to temporarily connect this pin to the COM (common) terminal on the board. The COM terminal is typically part of the keypad or zone connectors and serves as the common ground. Carefully connect pin 25 to the COM terminal, ensuring the connection is secure but temporary.
Power Up the System
Once you have pin 25 grounded, proceed to power up the system by reconnecting the AC power and the battery. With the pin grounded during the power-up process, the installer lockout should be bypassed. Now, using a connected keypad, attempt to enter the programming mode with the default installer code, which for many DSC models is *8 5555 or *8 5010. If the bypass was successful, you should gain access to the programming mode.
Unground Pin 25 and Set New Installer Code
While still in programming mode and with pin 25 grounded, it is crucial to unground pin 25 before making any changes. Timing is critical here; you need to remove the grounding wire from pin 25 to allow the system to write to the chip. Once ungrounded, you can proceed to set a new installer code. You can refer to the DSC PC5010 programming manual for more detailed information on setting the installer code and other installer only settings but the section in programming is 007, followed by a new 4 digit installer code, then # a few times to exit programming.
Reassemble and Test
After setting the new installer code, power down the system once again to remove the grounding wire completely. Finally, power up the system one more time and test to ensure the new installer code works and the system functions correctly with your new installer code. At that point with your new installer code, you can even disable installer lockout to prevent any issues in the future too!