Proxmox is an amazing open-source, Type 1 hypervisor that lets you turn basically any old PC into a full-fledged virtualization powerhouse. Whether you’re setting up the best home lab, testing software, or diving into self-hosted virtualization, Proxmox has you covered while letting you flex on your friends with your personal cloud.
Getting Started
First, grab the latest version of Proxmox Virtual Environment (PVE), one of the best virtualization software solutions for home labs. At the time of writing, we’re using v8.3. Head over to Proxmox Downloads and snag the latest ISO.
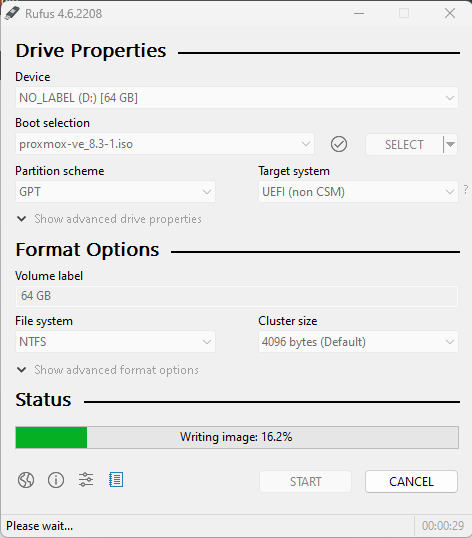
Flashing the ISO to a USB Drive
You’ll need at least an 8GB flash drive and Rufus to create a bootable installer. Plug in your flash drive, open Rufus, select your device, pick the Proxmox ISO, and hit start.
Installing Proxmox
Insert your bootable flash drive into your future Proxmox server (I’m using an older Dell OptiPlex Micro 3060 for this), then boot from the USB. When the Proxmox install screen pops up, choose Install Proxmox VE (Graphical).
Of course, Proxmox will hit you with an End User License Agreement that you’ll totally read in full before accepting (wink, wink).
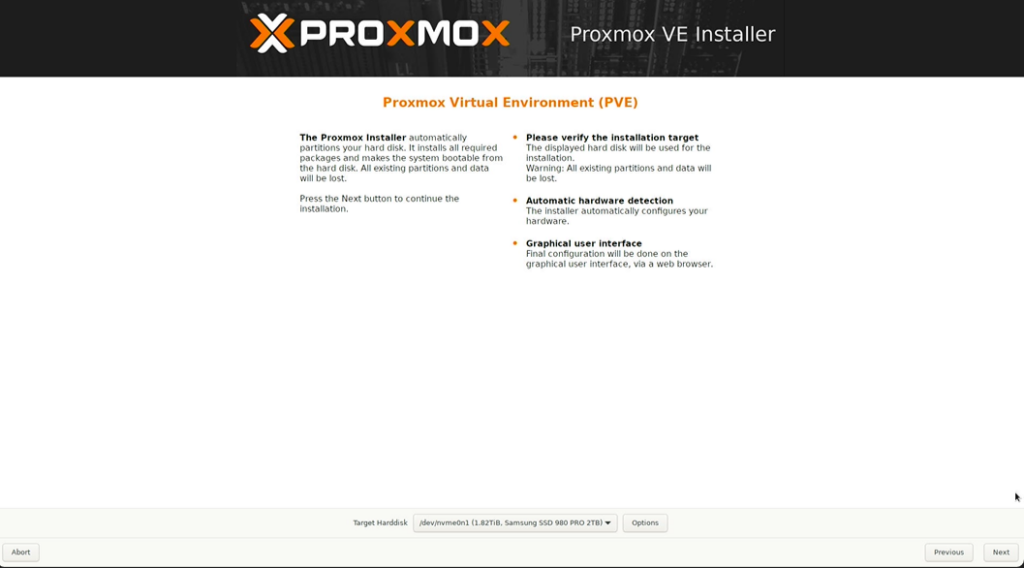
Now, it’s time to select the drive for installation. Be careful, Proxmox will format and partition the selected drive, wiping any existing data.
Setting Up Basic Configuration
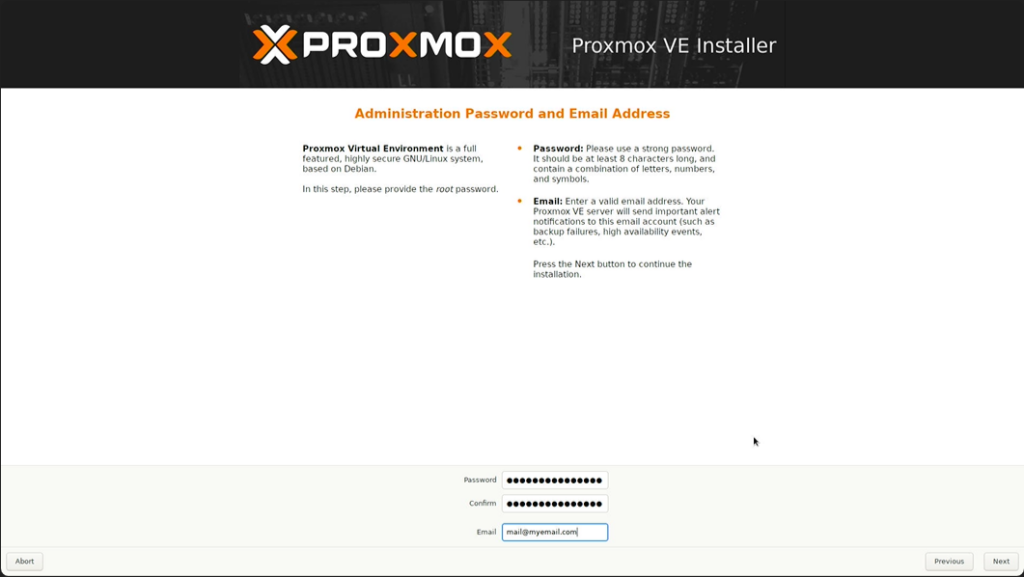
After choosing the drive, Proxmox will ask for your location and timezone, followed by an administrator password and email.
Now for the fun part… naming your server. Bonus points if you come up with something clever (leave your best name ideas in the comments!). You’ll also need to assign a static IP address. If you plan to use DHCP with reservations later, we will cover changing this setting after installation.
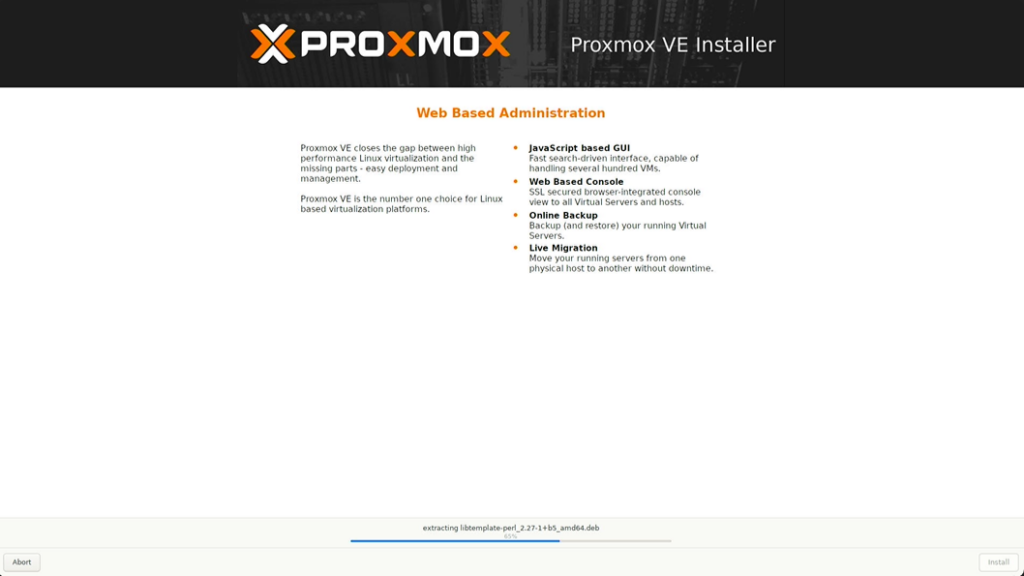
Proxmox will then show you a summary of your settings. If everything looks good, hit Install and let the magic happen. Depending on your system, this could take anywhere from a minute to a few.
First Boot and Network Configuration
Once the install finishes, remove your USB drive and let Proxmox boot up. You’ll be greeted with a terminal login screen. Use root as the username and enter the password you created earlier.
By default, Proxmox is set up with a static IP you configured earlier. For my setup, I prefer DHCP for flexibility, especially since I move systems between VLANs frequently. Unfortunately, you can’t change this through the web GUI, so we’ll need to modify the network config manually.
Changing to DHCP
- Open the network configuration file with nano by typing:
nano /etc/network/interfaces - Find the
vmbr0interface section. It will look something like this:auto vmbr0
iface vmbr0 inet static
address 10.5.12.5/24
gateway 10.5.12.1
bridge-portsenp5s0
bridge-stp off
bridge-fd 0 - Modify it to use DHCP instead:
auto vmbr0iface vmbr0 inet dhcp
bridge-ports enp5s0
bridge-stp off
bridge-fd 0 - Save and exit: Press Ctrl + X, then Y, and hit Enter.
- Apply the new settings with the command
ifreload -a - Check if you received an IP address from your DHCP server by typing
ip addr
If everything is set correctly, you should seevmbr0with an assigned IP from your DHCP server.
Accessing the Web GUI
Now that Proxmox is up and running, it’s time to access the web interface. If you’re wondering how to access Proxmox GUI, it’s as simple as opening a browser and entering the server’s IP address. It uses port 8006 by default. I’ve had to Google that about a million times since I started using Proxmox, so at least here it is for reference! Open a browser and go to:
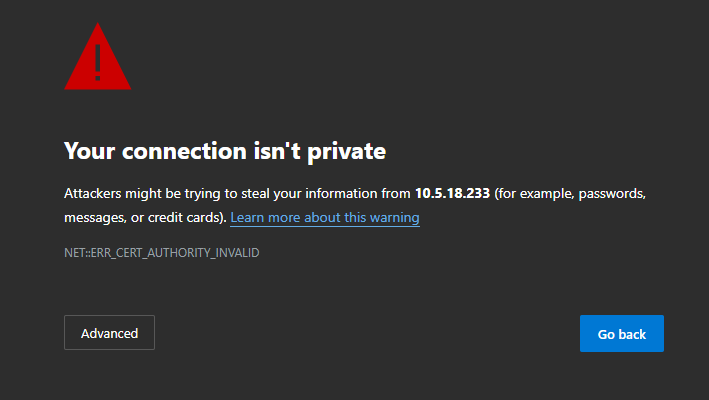
https://<your PVE IP>:8006Expect an SSL certificate warning, since it’s a self-signed cert, just click Advanced and proceed anyway.
Keeping Proxmox Updated
Once logged in, go to Updates and click Refresh. You’ll get a friendly reminder that you don’t have an enterprise subscription (unless you actually do). Ignore it and proceed. Click Upgrade to apply available updates.

And that’s it! Your Proxmox Virtual Environment is now fully set up and ready to roll. Whether you’re setting up VMs, running LXC containers, or just experimenting, your home lab just got a serious upgrade.
Let me know in the comments what you’re planning to run on your Proxmox server!
One comment on “Setting Up Proxmox Virtual Environment for Your Home Lab in Under 15 Minutes!”