Recently, I had an old Microsoft Surface Pro 4 come across my desk that simply wouldn’t boot and was stuck in a BSOD loop. Since the contents on the device weren’t important, I decided it would be best just to wipe it with a factory image. Reinstalling Windows on a Surface device differs slightly from a traditional Windows installation on PC. Here’s a detailed guide on how to reset your Microsoft Surface Pro to its default settings using a factory restore image.
Things You’ll Need
- USB Drive:
- Ensure it has enough storage to fit the recovery image you download. I used a 64 GB drive.
- Use a USB 3.0 or higher drive for the best performance.
Step 1: Download the Recovery Image
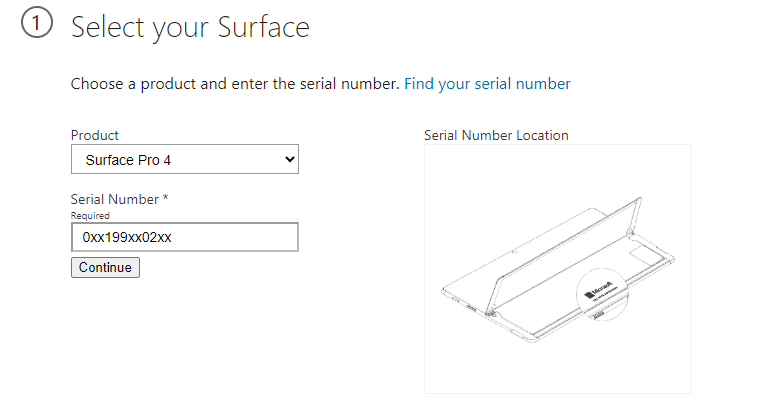
- Visit Microsoft’s Surface Recovery Page:
- Go to Microsoft Surface Recovery Image.
- Scroll down to the bottom, select your product, and enter the device’s serial number.
- Note: You will need a Microsoft account to access the recovery image downloader.
- Find the Serial Number:
- If your Surface is in a rugged case like this one or you can’t find the serial number, you can access it through the UEFI firmware settings menu:
- Shut down your Surface.
- Press and hold the volume-up button, then press and release the power button.
- When the Surface logo appears, release the volume-up button. The UEFI menu will display within a few seconds.
- The serial number should be listed in the UEFI menu.
- If your Surface is in a rugged case like this one or you can’t find the serial number, you can access it through the UEFI firmware settings menu:
Step 2: Create a Recovery Drive
- Prepare the USB Drive:
- Creating a recovery drive will erase everything on your USB drive. Ensure it’s blank or back up any important data before proceeding.
- Insert the USB Drive:
- Insert the USB drive into the USB port of the computer you downloaded the recovery file onto.
- Open Recovery Drive Tool:
- Click the Start button and type “recovery drive” in the search box. Select “Recovery Drive” from the results.
- If prompted by UAC, confirm the action.
- Create the Recovery Drive:
- Uncheck the “Back up system files to the recovery drive” checkbox and click Next.
- Select your USB drive, then select Next > Create.
- Some utilities need to be copied to the recovery drive, so this might take a few minutes.
- When the recovery drive is ready, click Finish.
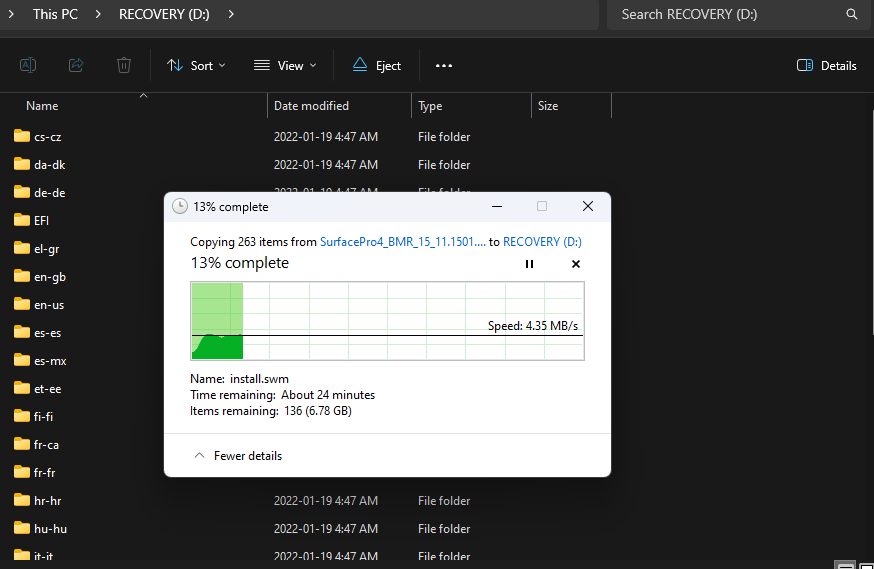
- Copy the Recovery Image to the USB Drive:
- Double-click the recovery image .zip file you downloaded to open it.
- Select all the files from the recovery image folder and copy them to the USB recovery drive you created.
- If prompted, choose to replace the files in the destination.
- This process may take some time, depending on the speed of your USB drive. For me, it took about 25 minutes.
Step 3: Reset Your Surface Pro
- Boot from the USB Drive:
- Make sure your Surface is turned off and plugged in.
- Insert the USB recovery drive into the USB port.
- Press and hold the volume-down button while pressing and releasing the power button.
- When the Microsoft or Surface logo appears, release the volume-down button.
- Start the Recovery Process:
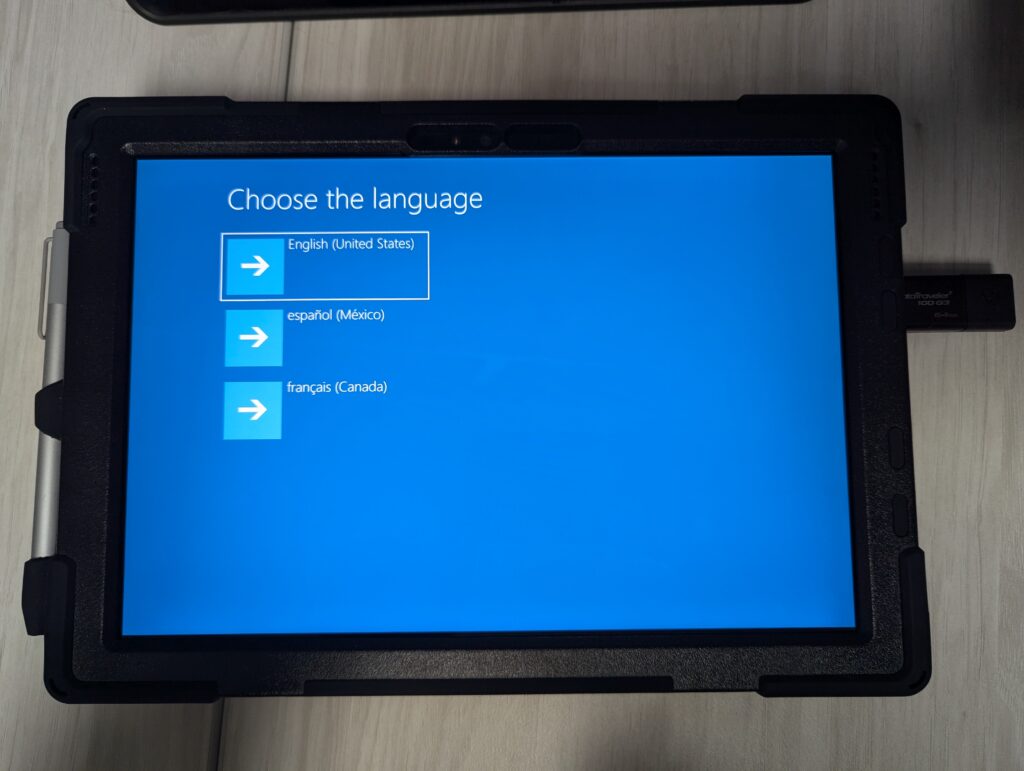
- When prompted, select the language and keyboard layout you want.
- Select “Recover from a drive” or “Troubleshoot > Recover from a drive”. If prompted for a recovery key, select “Skip this drive” at the bottom of the screen.
- Choose “Fully clean the drive”
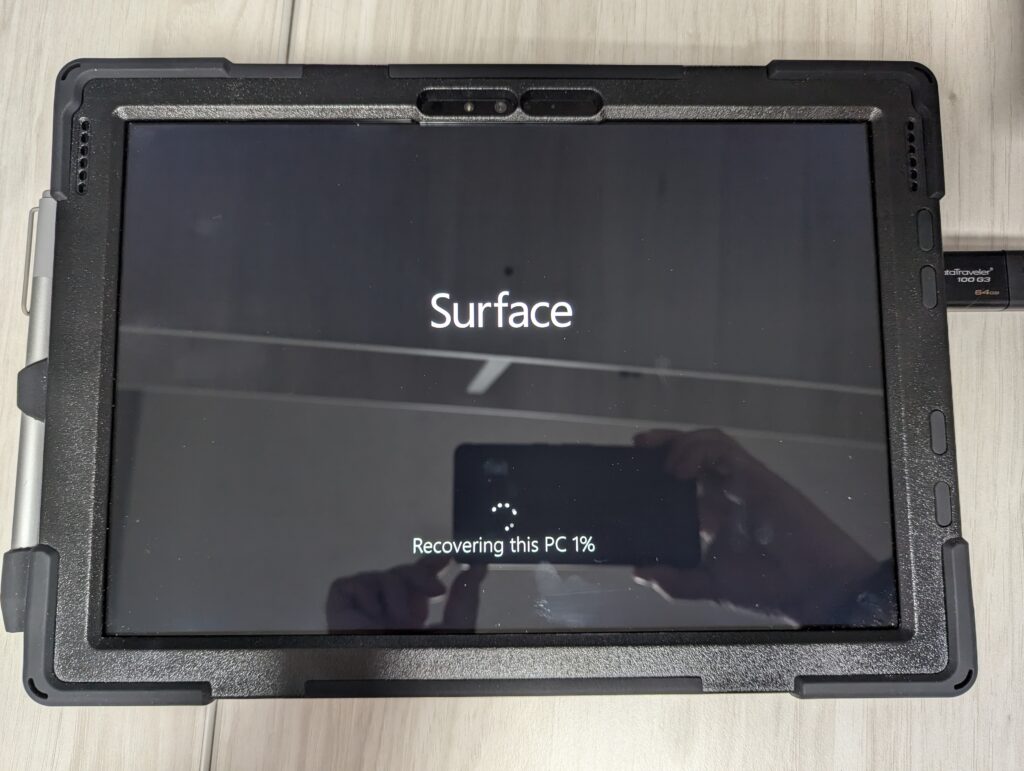
- Select “Recover”. Your Surface will restart and display the Surface logo while the reset process continues. This can take several hours.
- You may also get a prompt to reset the TPM key. You will need to do this as well.
Once the recovery process is done, the rest of the setup is just like any other Windows installation!