Anyone who deals with IT deployments, system administration, or just enjoys the chaos of spinning up virtual machines on a whim has probably used Ventoy at some point. If you haven’t, it’s a fantastic tool that allows you to create a bootable USB drive loaded with multiple ISOs without constantly reformatting. Just drop your ISOs onto the drive and boot from them directly. Simple and effective. But what if you didn’t need a USB drive at all? Enter iVentoy.
What is iVentoy?
No, it’s not the Apple-branded version of Ventoy. iVentoy is an enhanced PXE server that allows you to boot ISOs over the network, removing the need for physical media entirely. Instead of writing ISOs onto a USB stick, you can store them on a centralized server and boot multiple machines at once, all through PXE (Preboot Execution Environment). This makes it incredibly useful for mass deployments, running virtual machines across a network, or just making your life easier when dealing with various operating system installations. Whether you’re managing a large data center or just experimenting in a home lab, iVentoy can be a game-changer.
Why Use iVentoy?
- No More USB Shuffling: Boot any ISO without the hassle of finding and formatting USB drives.
- Multi-Machine Deployments: Install operating systems across multiple machines simultaneously.
- Flexible and Scalable: Works in enterprise environments, small business networks, and personal labs.
- Supports Multiple Architectures: x86 Legacy BIOS, UEFI, ARM64, and IA32 are all supported.
- Fast and Simple Setup: Unlike traditional PXE setups that require extensive configuration, iVentoy streamlines the process.
Setting Up iVentoy on Debian
To get started, a fresh Debian install is a solid choice. I’m quite familiar with Debian, but there is a Windows version as well (just not covered in this post). For this setup, we’ll use a Proxmox virtual machine, but you can install it on a physical server if that’s your preference.
Prepare the System
Fire up Proxmox and create a new Debian VM. Ensure it’s updated by running:
sudo apt update && sudo apt upgrade -y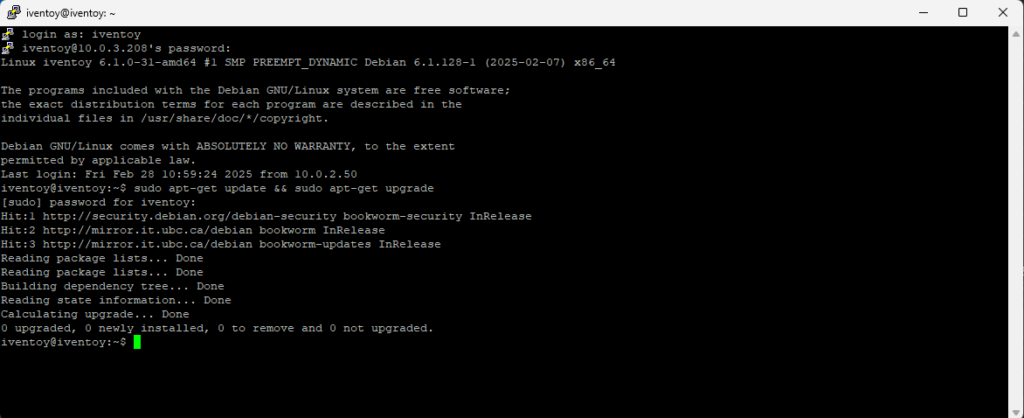
Install some necessary dependencies:
sudo apt install curl wget unzip -yDownload and Prep iVentoy
Head over to the official iVentoy website and grab the latest release from the GitHub repo. Download it using wget:
wget https://github.com/ventoy/PXE/releases/download/<version>/iventoy-<version>-linux-free.tar.gzExtract the files:
tar -xvzf iventoy-<version>.tar.gz
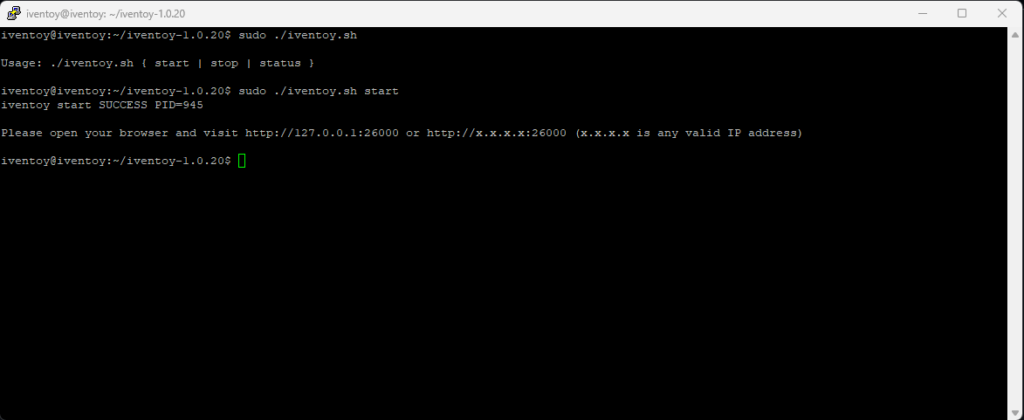
cd iventoy-<version>Run the the iVentoy script:
sudo ./iventoy.sh startThis will start iVentoy which can now be accessed by a browser.
Making iVentoy Auto Start
Now we want to make sure iVentoy starts each time the server reboots. It doesn’t do this by default.
sudo nano /etc/systemd/system/iventoy.serviceThen we use a systemd service unit, making sure to modify your paths to your iVentoy location accordingly:
# /etc/systemd/system/iventoy.service
[Unit]
Description=iVentoy PXE Booter
Documentation=https://www.iventoy.com
After=network-online.target

[Service]
Type=forking
Environment=IVENTOY_API_ALL=1
Environment=IVENTOY_AUTO_RUN=1
Environment=LIBRARY_PATH=/opt/iventoy/lib/lin64
Environment=LD_LIBRARY_PATH=/opt/iventoy/lib/lin64
ExecStart=/opt/iventoy/lib/iventoy
WorkingDirectory=/opt/iventoy/
Restart=on-failure

[Install]
WantedBy=multi-user.target
Enable your new service with:
sudo systemctl enable iventoyReboot your iVentoy server and with any amount of luck, you should be able to access the browser config once restarted without any user interaction! Sweet.
Access iVentoy via Browser
Once running, you can access the iVentoy web interface on port 26000
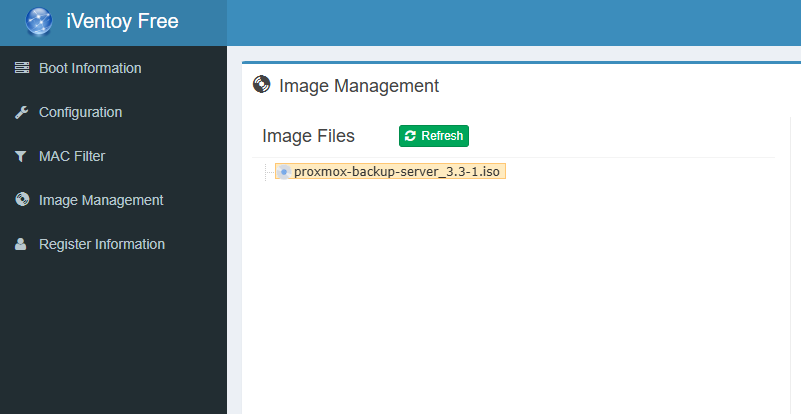
http://<iventoy-ip>:26000Move your ISOs into your iVentoy ISO directory:
sudo mv ~/Downloads/*.iso /opt/iventoy/iso/Confirm your ISOs showed up in the web interface under Image Management
Enable PXE Booting
Now that iVentoy is set up, configure your network to allow PXE booting. Most enterprise networks already have a DHCP server that can handle PXE requests, but for home labs, you may need to enable it in your router or set up a basic DHCP server (look for DHCP Option 66).
Once everything is good to go, boot a machine using PXE, and you should see your ISO selection menu pop up, ready to go.
iVentoy is one of those tools that, once set up, makes you wonder why you ever bothered with USB drives in the first place. Whether you’re provisioning servers or VMs, deploying workstations, or just want to keep a bunch of ISOs handy for tinkering, it’s a powerful addition to your toolkit. Give it a shot, and the next time someone asks how you’re booting systems over the network without touching a single USB drive, just smile and say, “Magic.”